THE MAKINg

Our furnace is on all day, everyday, all year round! It’s a huge expense to the business. Once a week we fill the furnace with soda glass, when the glass has melted and is back to a blistering 1100°c we can begin to use the molten glass.
first step, is to make a stem for the vanes of the feather to adhere to. This is done with a small gather of clear glass from the furnace which is then flattened and stretched using shears to elongate it and get the desired shape of the stem.
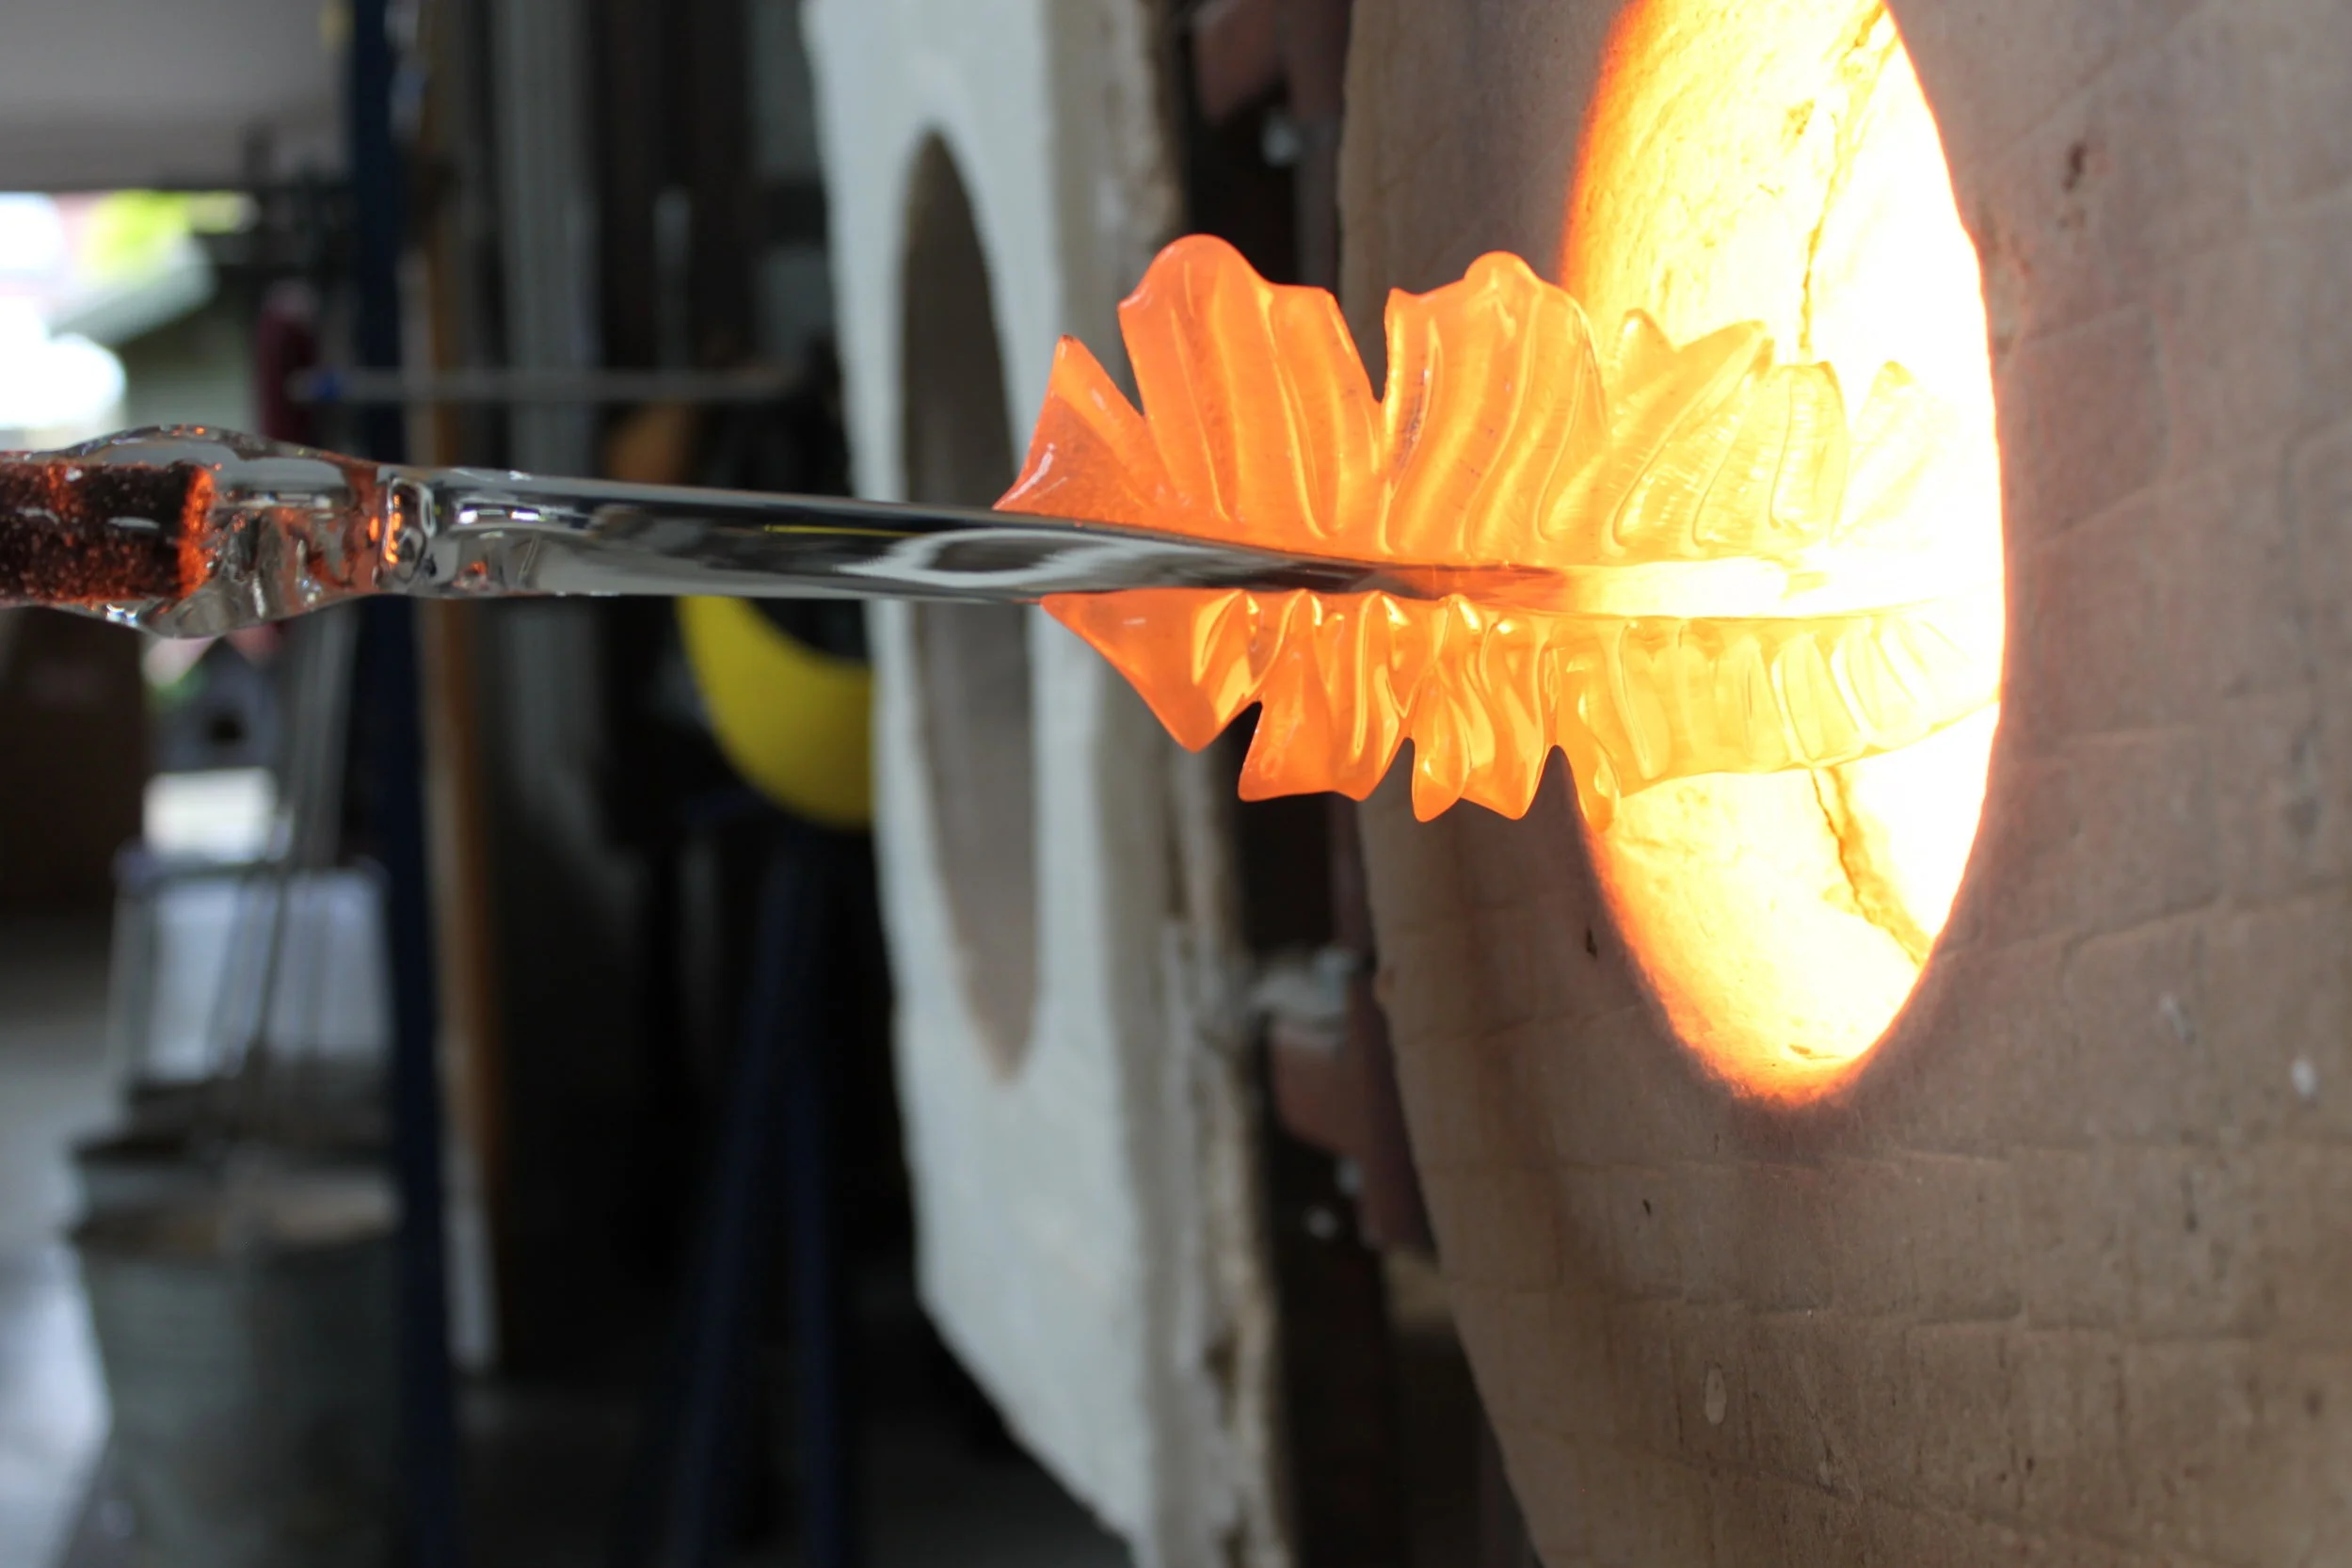
Next, another gather of glass is collected and rolled into crushed coloured glass. It is then shaped and expertly trailed onto one side of the stem. And using shears, tweezers and teflon is then shaped into one side of the feather’s vanes. reheating in between each stage to keep the glass as hot as possible, so as not to crack and shatter. we then repeat the trailing process on the other side of the stem.
“a beautiful feather for my beautiful nephew in heaven. I cant thank you enough for this special and unique gift”
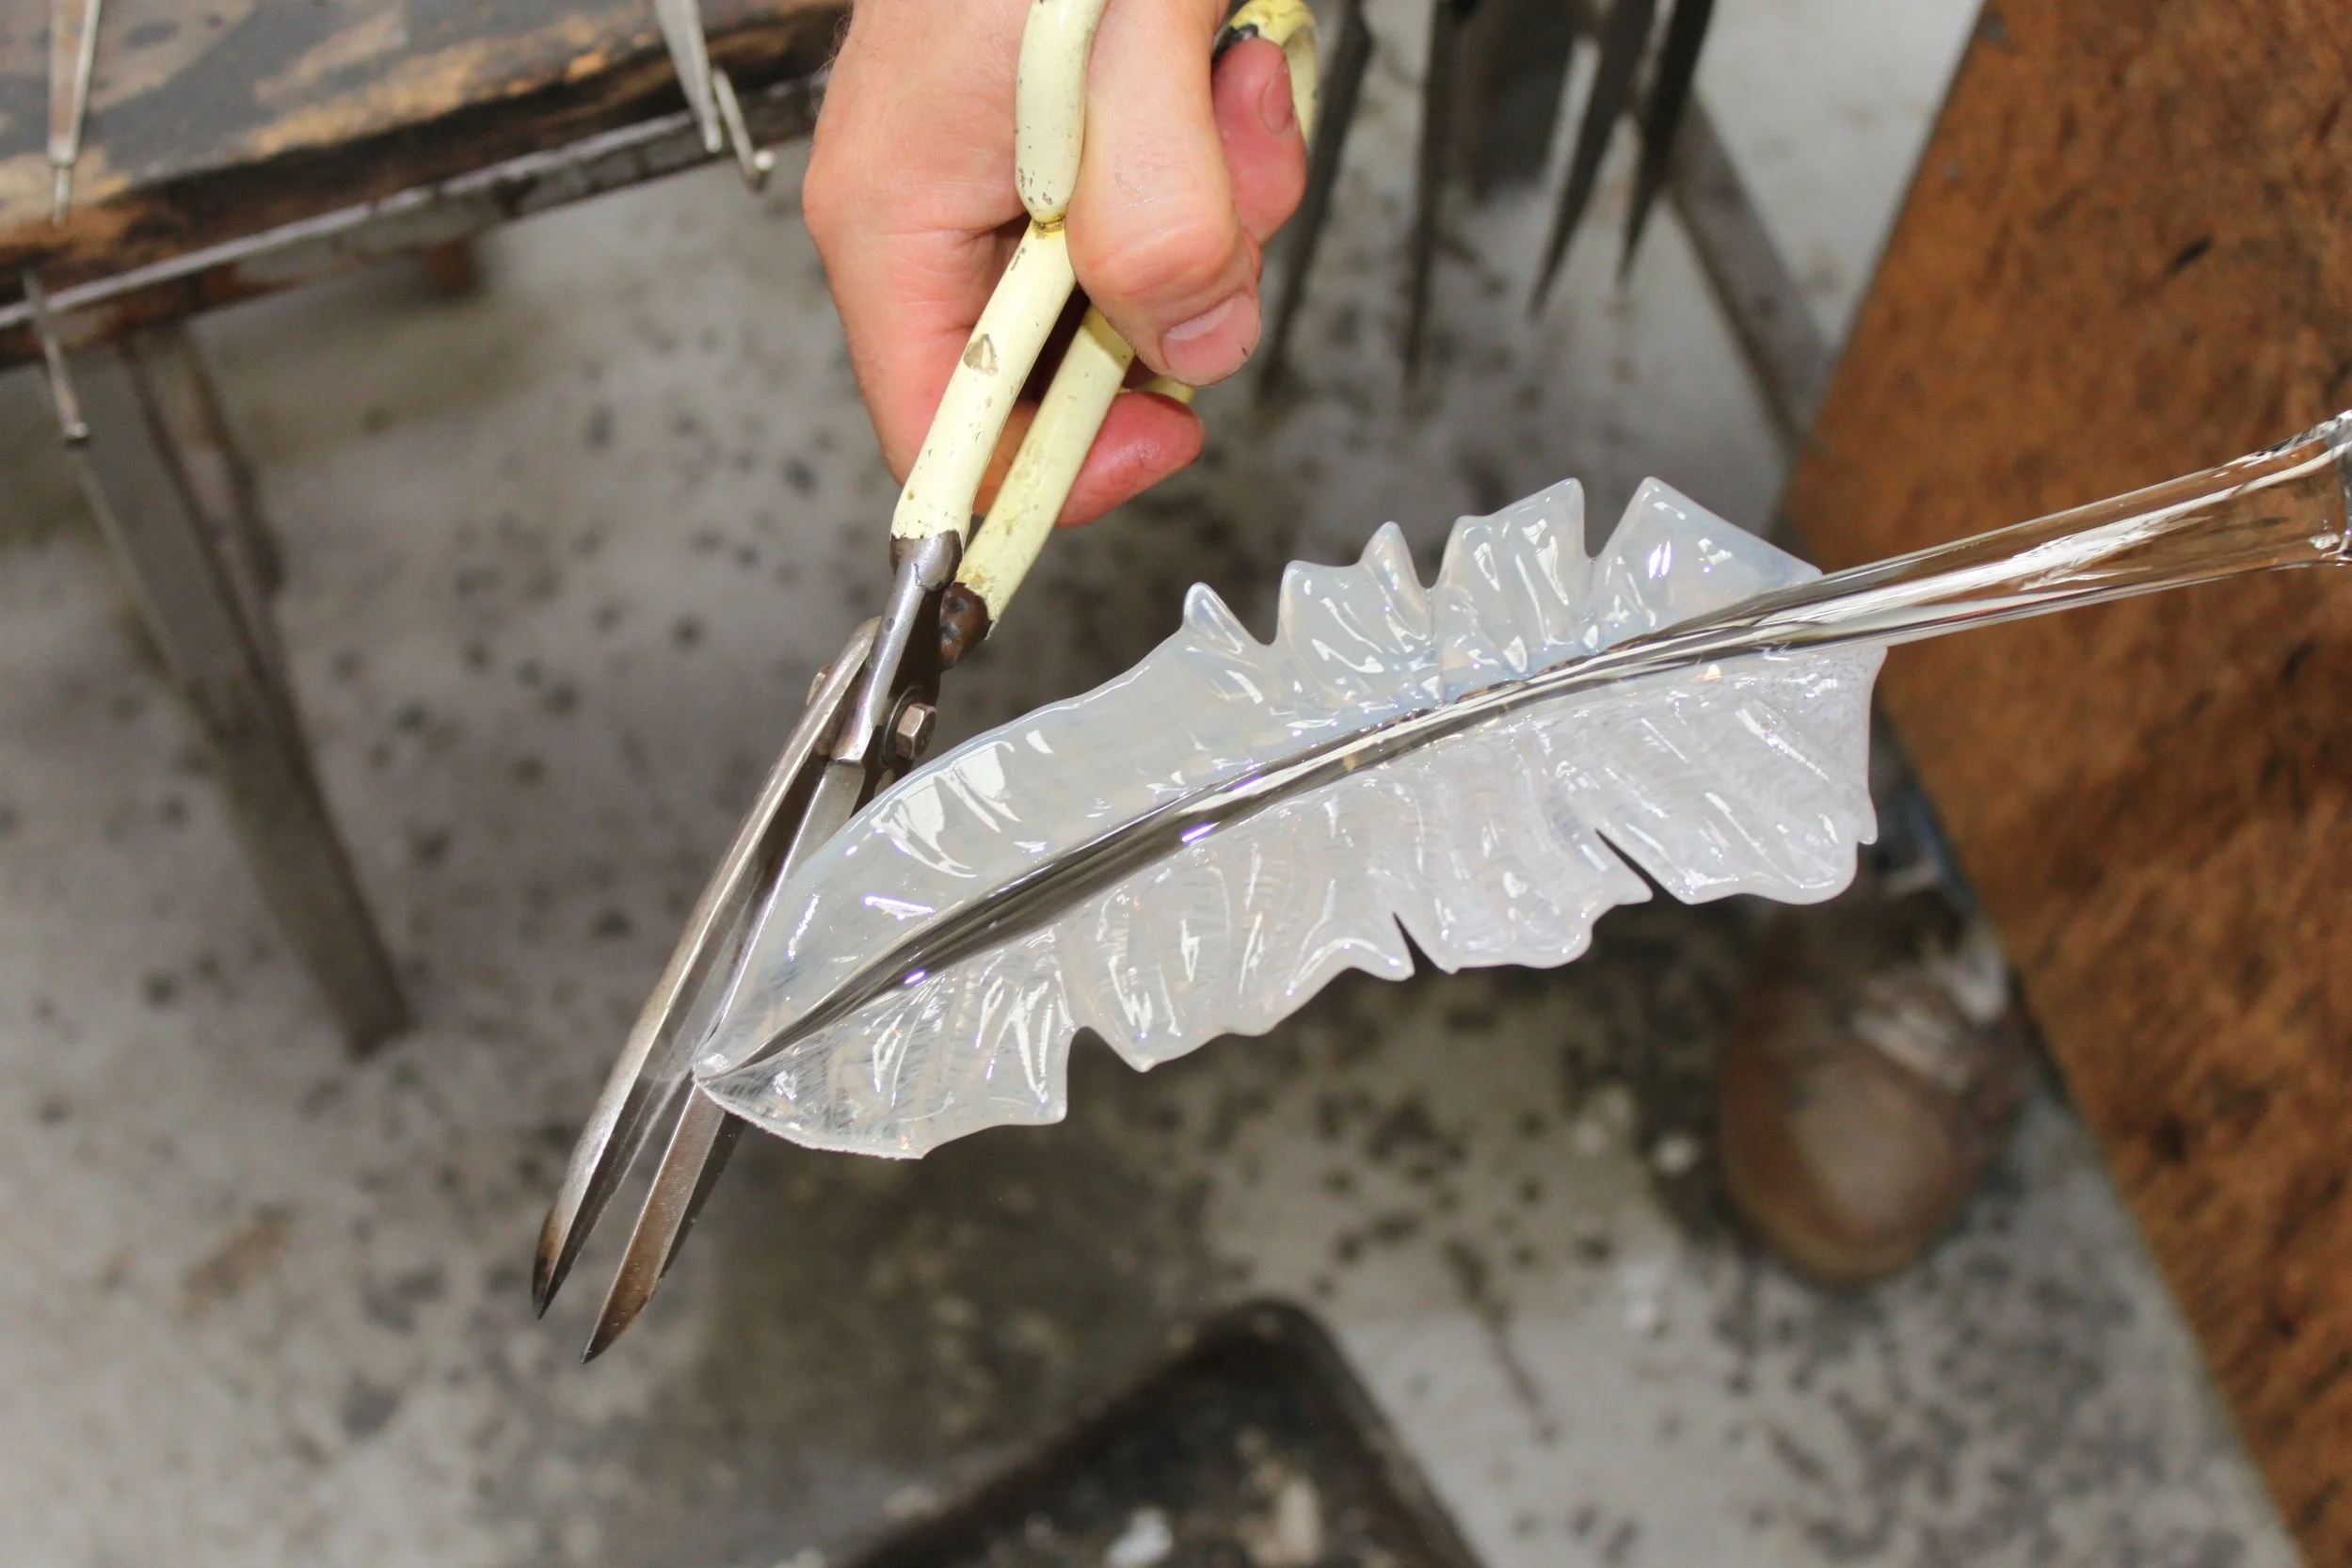
now we give your feather the final cut (as shown above) the hand sculpted feather is carefully placed into our kiln to cool down slowly overnight. the next day the stem of the feather is trimmed and perfectly polished ready for despatch or for your engraving to be sandblasted on by one of our team.
words of the trade
gather - to collect glass from the furnace
furnace - where the glass is held
teflon - a plastic rod used to help shape and curve your feather
shears - glass makers scissors
kiln - oven that cools glass down slowly
sandblasted - very fine sand is blasted through a stencil to create your engraving